Wednesday, October 3, 2012
What Wood You Do...
...when stymied by a project that completely stalled your studio output? While working on a beautiful dress, I got stuck on how to engineer the back closure. The lack of human model makes a fitted dress difficult, and since sewing is usually a sequential process - until I figure it out, I can't move forward. I didn't know what to do.
And then I saw the log pile from the olive tree we had to cut down. I began chopping away and immediately felt such freedom, cutting away intuitively, letting the material have its say. Before I knew it, I was sitting in a drift of sawdust and I'd completed about a dozen hairsticks. Feeling very encouraged, next I made some wild sculptural rings, and then a heart-shaped ring box/saltcellar of which I'm quite proud.
I know this departure might seem strange, especially considering my blog's title, but I've always worked with a variety of materials and techniques. And wood is a fiber, after all. And I figure I come by it naturally: my grandfather, father, and brother have all worked with wood. I wish they'd been around to teach me about working with wood and share the joy of making. I've thought of them a lot as I've been carving.
Norwegians’ have traditional wedding spoons, carved by suitors and used by the bride and groom at the wedding reception. These beautiful carved spoons are connected by a chain and are all carved from one piece of wood. I wanted to challenge myself to carve an interlocked form, and pay homage to my heritage but with a contemporary Scandinavian feel, encompassing concepts and beliefs which are important to me.
I started carving, with love and good intentions, and "Unity Chains" were the result. I've made several in this series. These are pendants of two unique, interlocked links carved from one piece of olive wood: symbols of love, peace, commitment, and interdependence; and metaphor for celebrating individual uniqueness and the strength, and flexibility, found only in unity.
Here is the finished Unity Necklace and the piece in process below:
Wednesday, April 25, 2012
Sheer Tea Party Madness
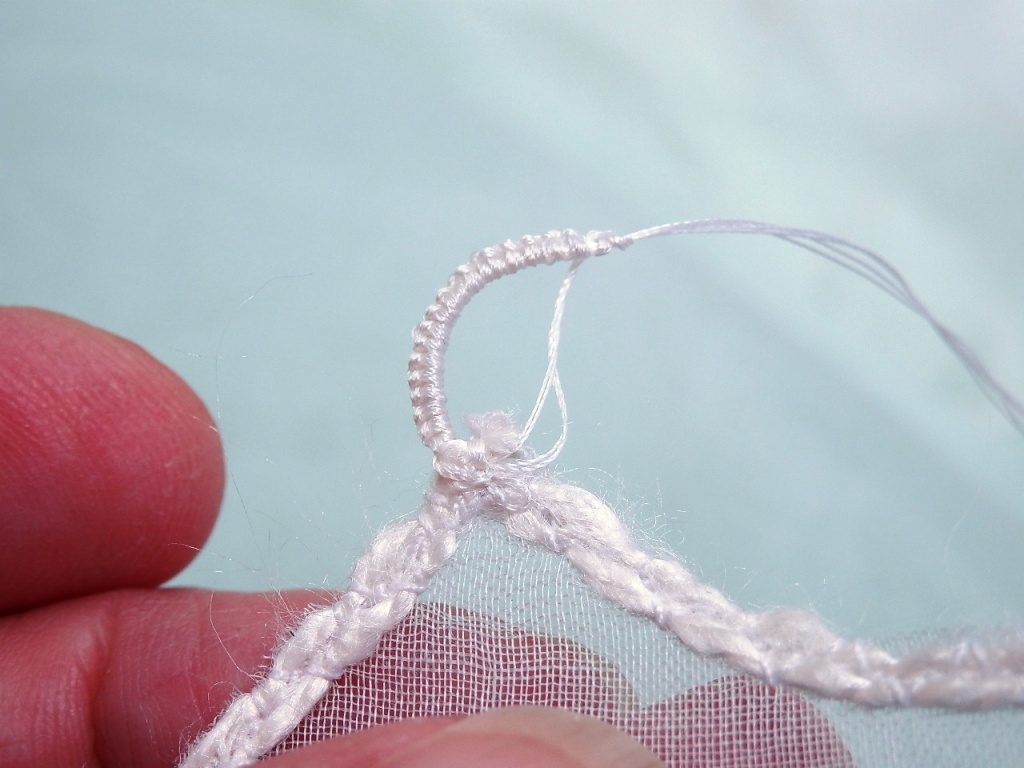
And I cut that bad boy off.
Friday, April 20, 2012
Shaping Vintage Textiles
Constructing clothing from vintage linens is sewing in
reverse. Instead of starting with a pattern and cutting whole cloth, here you
drape with pieces and parts and try to make a cohesive whole. I try to honor
the beauty of the original textiles and handmade laces that I use. But I also want my garments to have shape which means
darts. Here is a way to work a bust dart into a print and maintain the pattern.
You can also use a similar technique on laces.
I fold up the end of the dart and see that it will end in the bird nest, so I cut around that design element.
Here you can see where it will be stitched down in a new location.
Here is the finished hand stitched dart.
Both darts were worked completely by hand and the effect is just what I wanted: soft shaping on the front and no interruption in the pattern.
Adjustable snapping shoulder straps and side ties, and other fun features complete this summery blouse which you can see at left, (in photos taken before pressing, sorry) and the Finished Blouse Here.

Thursday, March 22, 2012
Tribal Turkish Tubes
However it all
started as a desire to finally find a good use for a knitting
knobby. You know those little hand crank machines that produce a knitted tube, and seem like a good idea when you shell out 30 bucks at the craft store. I thought it was a good idea - twice. Yup - forgot I already owned one when I bought another. Later I discovered how very limited they are, in the yarn size and type it can accomodate, when I broke the "Embellish Knit" and still had the original "Magicord Machine", which the package states is "The Knitting Knobby of the '90s". All apparently waiting for me to rearrange my studio and come across some big spools of closeout thin yarns, get an idea, and start cranking out tube yardage.
After I knit out long ropes of red and aqua, I chose to forego sketching and worked right in the yarn on a
long piece of adhesive backed soluble stabilizer (AquaMesh Plus by OESD). Starting in the middle of
a long blue knitted rope, I worked with left and right hands simultaneously,
keeping the design as symmetrical as possible and working quickly. I filled in the background with red rope, and added spots of yellow orange chenille yarn.The adhesive was harder to wash out than expected and it took a second, vigorous scrubbing. The piece has a nice feel to it. I may play with this method more, but may leave off the adhesive and baste stitch instead.
Wednesday, January 11, 2012
Thermo Printed Recycled Shipping Label
I wanted to create a sticker to hold a pleated tissue around my birds nest earrings, and grabbed, from my saved paper stash, a return label from an Amazon package. I chose it for its thinness because I wanted to paper-cut a heart rather like a snowflake. It folded and cut beautifully and after unfolding, I decided to flatten it with a warm iron. That’s when I discovered that it is thermo paper and it turned from white to black immediately. I really liked the way this looked and I lightly glued it into place.
I had to play some more! A brush with a warm iron created a lovely mottled effect on one side while remaining white on the other. I cut another heart shape and using a die-cut cardstock heart as a heat mask, applied the iron to it. I played until I ran out of scraps. I can’t wait to scrounge another label and play some more.
Saturday, December 3, 2011
Santa's Workshop Tip on Bias Linings
I've been a bad, bad blogger. Maybe Santa will still be good to me because I've been busy in the workshop.
And I know I'm not alone. So, fellow seamsters, here's a quick sewing tip for linings.
When constructing this garment, I finish the shoulder seams and attach the hood and then let the garment hang on the dress form for several days. The black satin lining will stretch as much as 3/4 " in places. I pin it all around to determine the variance and remove the excess. If you do not remove this excess fabric your garment will be balloony and not ever hang properly. The tendency of fabric on the bias to stretch is a good thing to remember and I hope you find this helpful on your next drapey, bias project.
And I know I'm not alone. So, fellow seamsters, here's a quick sewing tip for linings.
When there is fabric on the bias it will stretch out as it hangs. And when you use two different fabrics, allthough the pieces are cut exactly the same size, they will hang-out differently. Case in point, is my Little Red Riding Hood Cape .
When constructing this garment, I finish the shoulder seams and attach the hood and then let the garment hang on the dress form for several days. The black satin lining will stretch as much as 3/4 " in places. I pin it all around to determine the variance and remove the excess. If you do not remove this excess fabric your garment will be balloony and not ever hang properly. The tendency of fabric on the bias to stretch is a good thing to remember and I hope you find this helpful on your next drapey, bias project.Sunday, November 20, 2011
Thanks Sale
Just a little way of saying THANKS for a wonderful year due to the support of all my family, friends, and fans......
!!! THANKS SALE !!! Black Friday - Cyber Monday, 11/25/2011 - 11/28/2011, Midnight to Midnight PST, everything in Jeanine Designs
is on SALE 20% - 30% off
Enter coupon code "THANKS20" at checkout to receive a 20% discount.
Returning Customers and those purchasing 2 or more items may instead use the coupon code "THANKSAGAIN30" at checkout to receive a 30% discount.
*Note - I'll be updating stock on hand daily but be aware that some items are one-of-a-kind. If an item you wanted has been sold, just convo me and we'll talk about making the item for you, options, and delivery times. This can't be combined with other offers, sorry.
!!! THANKS SALE !!! Black Friday - Cyber Monday, 11/25/2011 - 11/28/2011, Midnight to Midnight PST, everything in Jeanine Designs
is on SALE 20% - 30% off
Enter coupon code "THANKS20" at checkout to receive a 20% discount.
Returning Customers and those purchasing 2 or more items may instead use the coupon code "THANKSAGAIN30" at checkout to receive a 30% discount.
*Note - I'll be updating stock on hand daily but be aware that some items are one-of-a-kind. If an item you wanted has been sold, just convo me and we'll talk about making the item for you, options, and delivery times. This can't be combined with other offers, sorry.
Subscribe to:
Posts (Atom)